
If you’re searching for how to replace rain gutters, you’re probably dealing with leaks, overflow, or gutters that just look worn out.
The good news is, you’ve got options. You can tackle this project yourself with the right steps, or you can bring in a pro and save yourself the hassle.
Either way, understanding the process helps you make the right call for your home.
|
Key Takeaways:
|
Tools and Materials You’ll Need
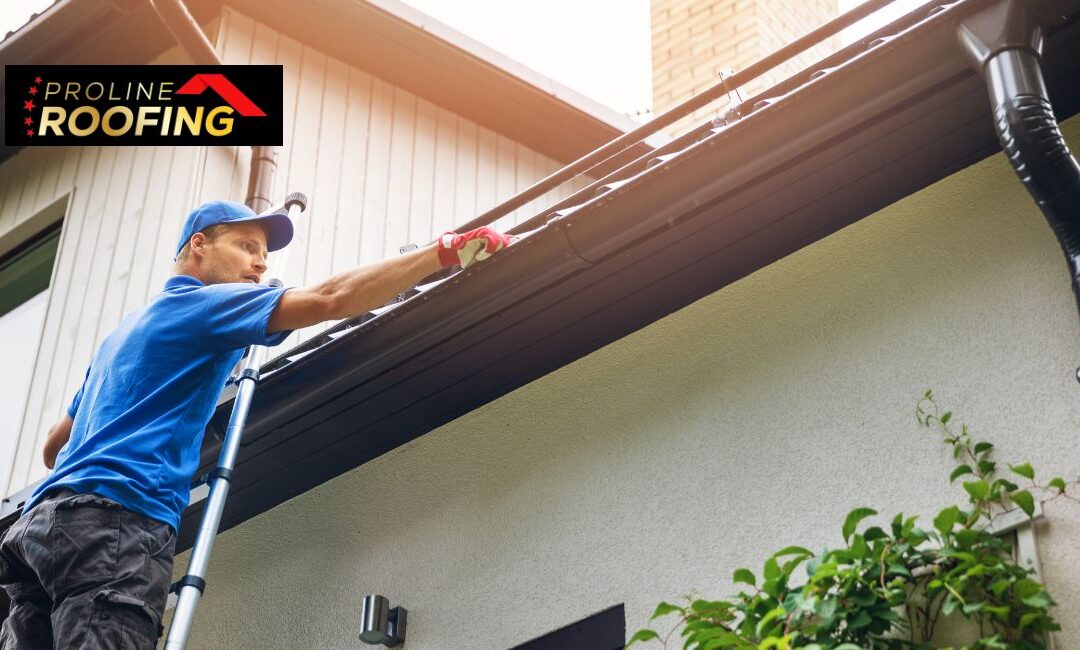
Before you climb up that ladder, take a minute to get everything ready. Trust me, stopping halfway through because you’re missing something is frustrating.
Tools:
- Ladder with stabilizer
- Tape measure
- Drill or screwdriver
- Tin snips
- Level
- Chalk line
Materials:
- Gutter sections (aluminum is a solid choice for Spanaway weather)
- Downspouts
- Gutter hangers or brackets
- End caps
- Screws
- Waterproof sealant
Quick tip: Go for quality materials. Cheap gutters may save money upfront, but they usually don’t last long in Washington’s wet climate.
Steps on How to Replace Rain Gutters
Step 1: Remove the Old Gutters
Start by carefully removing your existing gutters.
Loosen the screws or brackets holding them in place, then lower each section slowly. Be careful here. Old gutters can be heavier than they look, especially if they’re full of debris.
While you’re at it, check the fascia board behind them. If it’s soft, cracked, or rotting, fix that first. Installing new gutters on damaged wood is just asking for trouble.
Step 2: Measure Your Roofline
Now grab your tape measure.
Measure the full length of your roof edges, note where corners are, and plan where your downspouts will go.
Take your time here. Even a small mistake can throw off your entire setup.
Step 3: Plan the Slope
This is one of the most important parts on how to replace rain gutters.
Your gutters need a slight slope so water flows toward the downspouts.
Rule of thumb: About ¼ inch drop for every 10 feet
Mark your high and low points using a chalk line. If your gutters are flat, water will sit instead of draining.
Step 4: Install Gutter Hangers
Attach your hangers along the fascia board, following the slope you just marked.
Space them about 2 to 3 feet apart. In Spanaway, where rain can be heavy, solid support really matters.
Make sure each hanger is secure. Loose brackets lead to sagging gutters later on.
Step 5: Cut and Assemble the Gutters
Cut your gutter sections to fit your measurements.
Then:
- Attach end caps
- Connect sections together
- Apply sealant at all joints
Take your time sealing everything. This is where most leaks happen.
Step 6: Mount the Gutters
Lift each section into place and secure it into the hangers.
It helps to have a second person here, especially for longer runs.
Check alignment as you go. You want a smooth, consistent slope with no dips.
Step 7: Install Downspouts
Now connect your downspouts.
Attach them to the gutter outlets and secure them to your home using brackets.
Make sure water is directed away from your foundation, at least a few feet out. This is huge for preventing water damage.
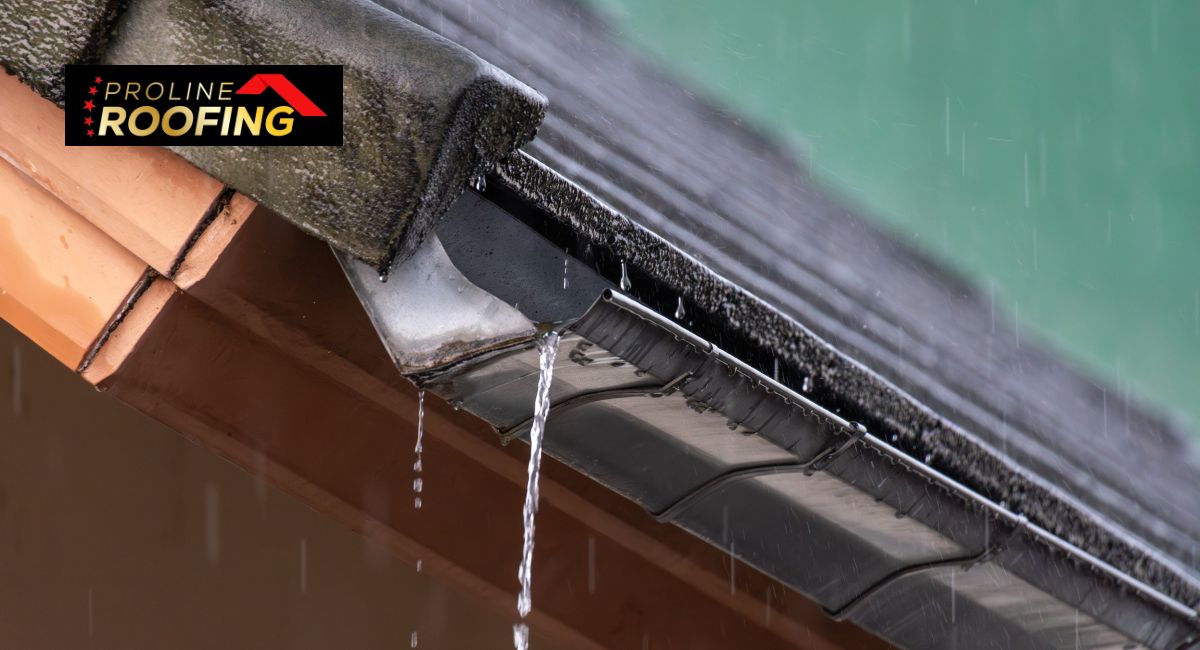
Step 8: Test the System
Don’t skip this step.
Run water through your gutters using a hose and watch how it flows.
Look for:
- Leaks
- Standing water
- Overflow
Fix anything you spot now before the next heavy rain hits.
Common Mistakes to Avoid
Even if you’re handy, gutter installation has its tricky parts.
Here are some mistakes you’ll want to avoid:
- Installing gutters without proper slope
- Using too few hangers
- Forgetting to seal joints properly
- Placing downspouts in poor locations
- Ignoring damaged fascia boards
These issues might not show right away, but they’ll come back to bite you later.
DIY vs Hiring a Pro
So, should you do it yourself or call someone?
It really depends on your situation.
DIY might work if:
- Your home is one story
- The layout is simple
- You’re comfortable working on a ladder
Hiring a pro is better if:
- Your roof is steep or multi-level
- You have complex angles
- You want it done fast and correctly
Let’s be honest. Climbing up and down ladders, measuring precisely, and sealing everything right can be exhausting.
Sometimes it’s just easier to let a professional handle it. They know exactly how to replace rain gutters the right way.
Call Proline Roofing for Professional Help!
If you’re feeling unsure or just don’t want to deal with the hassle, you’re not alone. Gutter repair and gutter replacement can get overwhelming fast, especially with all the measuring, cutting, and climbing involved.
That’s where Proline Roofing comes in. We help homeowners install gutter systems that actually hold up against Spanaway’s rainy weather, so you don’t have to second guess anything.
When you work with us, you get:
- Properly sloped and installed gutters that drain correctly
- Strong materials built for Washington conditions
- Clean, efficient installation without the stress
- A local team that understands your home’s needs
You don’t have to spend your weekend on a ladder or worry about getting every detail right.
Reach out today and let’s get your new gutter system installed the right way.